If you’re new to server management but want more control over your websites, CyberPanel gives you an easy way to handle domains, databases, SSL, and backups from a single dashboard. There are a lot of control panels out there such as cpanel, vestaCP, Spanel etc. You can check these out if you want but, the reason Cyberpanel is a great choice is that it is free and open source. It provides you with everything you need to run and manage your website without incurring any cost. This guide walks you through how to Install Cyberpanel on Contabo VPS and get website or service up and running quickly.
Why run CyberPanel on a VPS?
Running CyberPanel on a VPS is important because it gives you dedicated resources (CPU, RAM, storage), security, and optimization compared to shared hosting. Also if speed, performance and SEO are of great importance to you, VPS is the best way to go. The server resources is for you and you alone. And your are not sharing it with anyone. By combining CyberPanel with a high spec VPS like contabo, you gain reliable resource allocation, predictable performance, and scalability as your traffic grows.
Why Contabo stands out for this setup

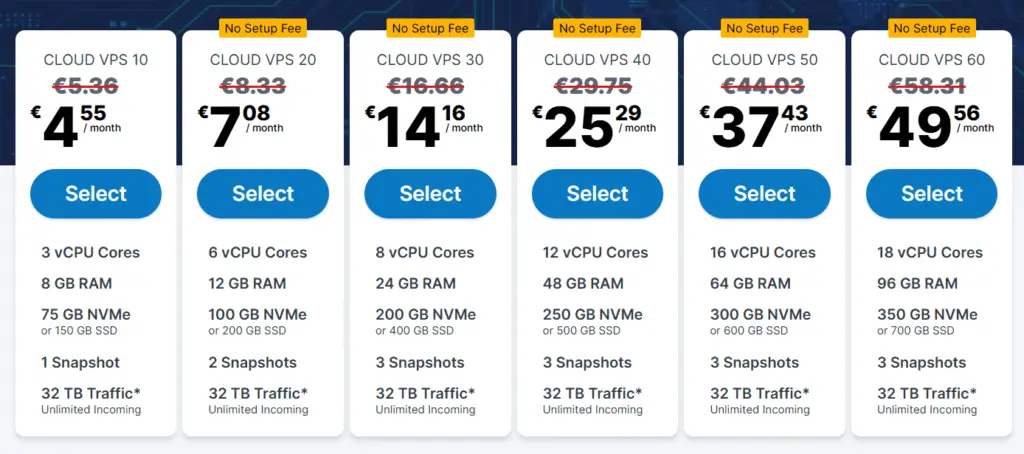
Contabo is an excellent choice for running CyberPanel on a VPS. They offer high-end server resources at a very affordable price, making it best choice for developers, startups, and growing businesses. Now let’s go into how to Install Cyberpanel on Contabo:
Requirements for Installation.
In order to install CyberPanel on contabo, you need to ensure that you meet the following specifications:
- A domain name domain from namecheap or any domain of your choice
- Contabo VPS Server with fresh installation of Ubuntu 18.04, Ubuntu 20.04, AlmaLinux 8, AlmaLinux 9, Ubuntu 22.04, or CloudLinux 8.
- Atleast 1024 MB RAM, or higher
- 10GB Disk Space
The good thing is that contabo offers more than these resources at a cheap price. That said, let get into then installation proper.
Cyberpanel licenses
It is very important to understand that there are two types of cyberpanel. We have the normal cyberpanel and the enterprise version. Though, they’re exactly same in both versions. The only difference is the web server running each if the versions.
- Normal CyberPanel comes with OpenLiteSpeed web server and it is completely free to host unlimited number of domains.
- CyberPanel Enterprise comes with LiteSpeed Web Server Enterprise and it is free for one domain. If you want for more domains to be hosted, you can get different plans according to your needs on their Pricing page.
Installing Cyberpanel
In this tutorial, I will be using ubuntu 22.04. Installing CyberPanel is simple: follow the steps below.
- Step 1: Connect to the server commandline via SSH client. (Termius, Putty, Bitvise, etc)
Login as a Root user (Sudo will not work). You can get the Login details from Contabo or any web host you are using. - Step 2: Update server Packages.
Update your server OS first (This updates all services and provides much better compatibility to run your installation). Run the following command
sudo apt update && sudo apt upgrade -y
Note: Ensure your server is running on ubuntu OS because the above code and the codes here are for ubuntu OS.
Step 3: Run the Installation Script.
Run the command below to automatically download and run the Cyberpanel script. This will prompt you choosing the LiteSpeed version and additional add-ons you wish to install on your server.
sh <(curl https://cyberpanel.net/install.sh || wget -O - https://cyberpanel.net/install.sh)
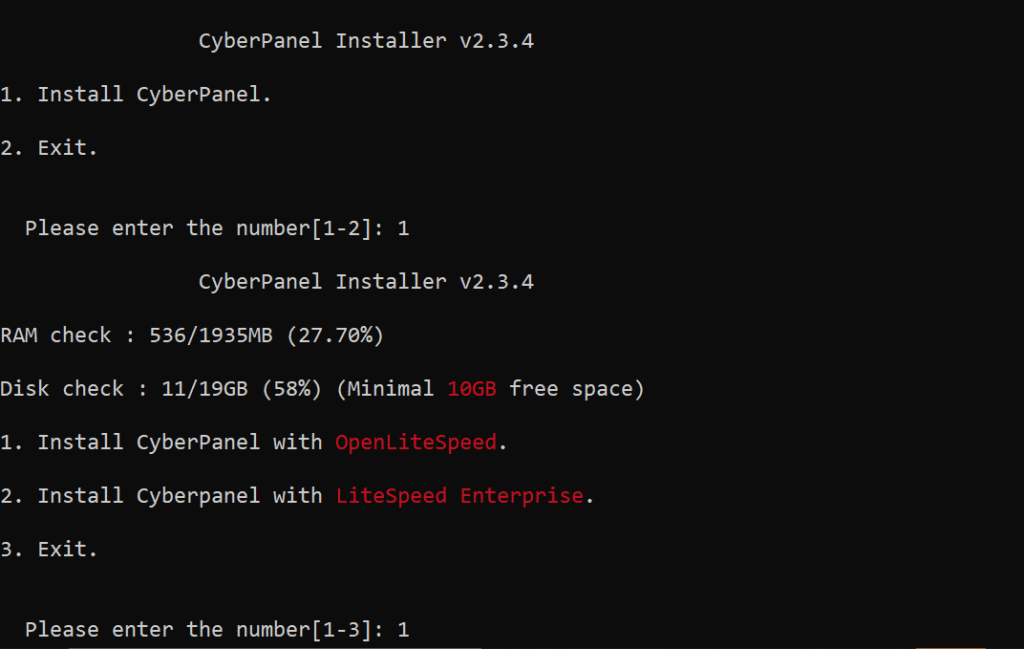
- Step 4: Select the version of LiteSpeed that you would like to use.
As said before cyberpanel has two types, the normal version and the enterprise version. Select install cyberpanel with openlitespeed.

- – Remote MySQL (default N):
Wait for your Database to be installed on a remote server

CyberPanel Version (default Latest Version):
You can choose to install a previous version of CyberPanel, or press Enter to install the latest version.

– Password (default “1234567”):
Using the default password is not advisable. It is recommended to set a strong password of your own by choosing ‘s’ or generate a random password by selecting ‘r’. After the installation, you will see the password prompt displayed on the screen.

Memcached (default Y):
Distributed memory object caching system

Redis (default Y):
In-memory data structure store, used as a database, cache, and message broker

Watchdog (default Yes):
A kernel watchdog is used to monitor if a system is running. It is supposed to automatically reboot hanged systems due to unrecoverable software errors.

Step 6: The installation process will initiate automatically and is expected to be complete within 5-10 minutes, depending on your server’s speed.
Step 7: Finalize Installation. Upon completion of the installation process, you will encounter a screen displaying important information regarding your configuration. I recommend you select and copy this information to a safe place for future use.
This is how you can install Cyberpanel on Contabo and turn your website. If you have any questions, comment below or open a question in our forum, and I will be happy to help.
